In this course, we’re going to cover pencils. I’ll show you how to use them and how to understand what you’re buying.
Which Pencils Should I get?
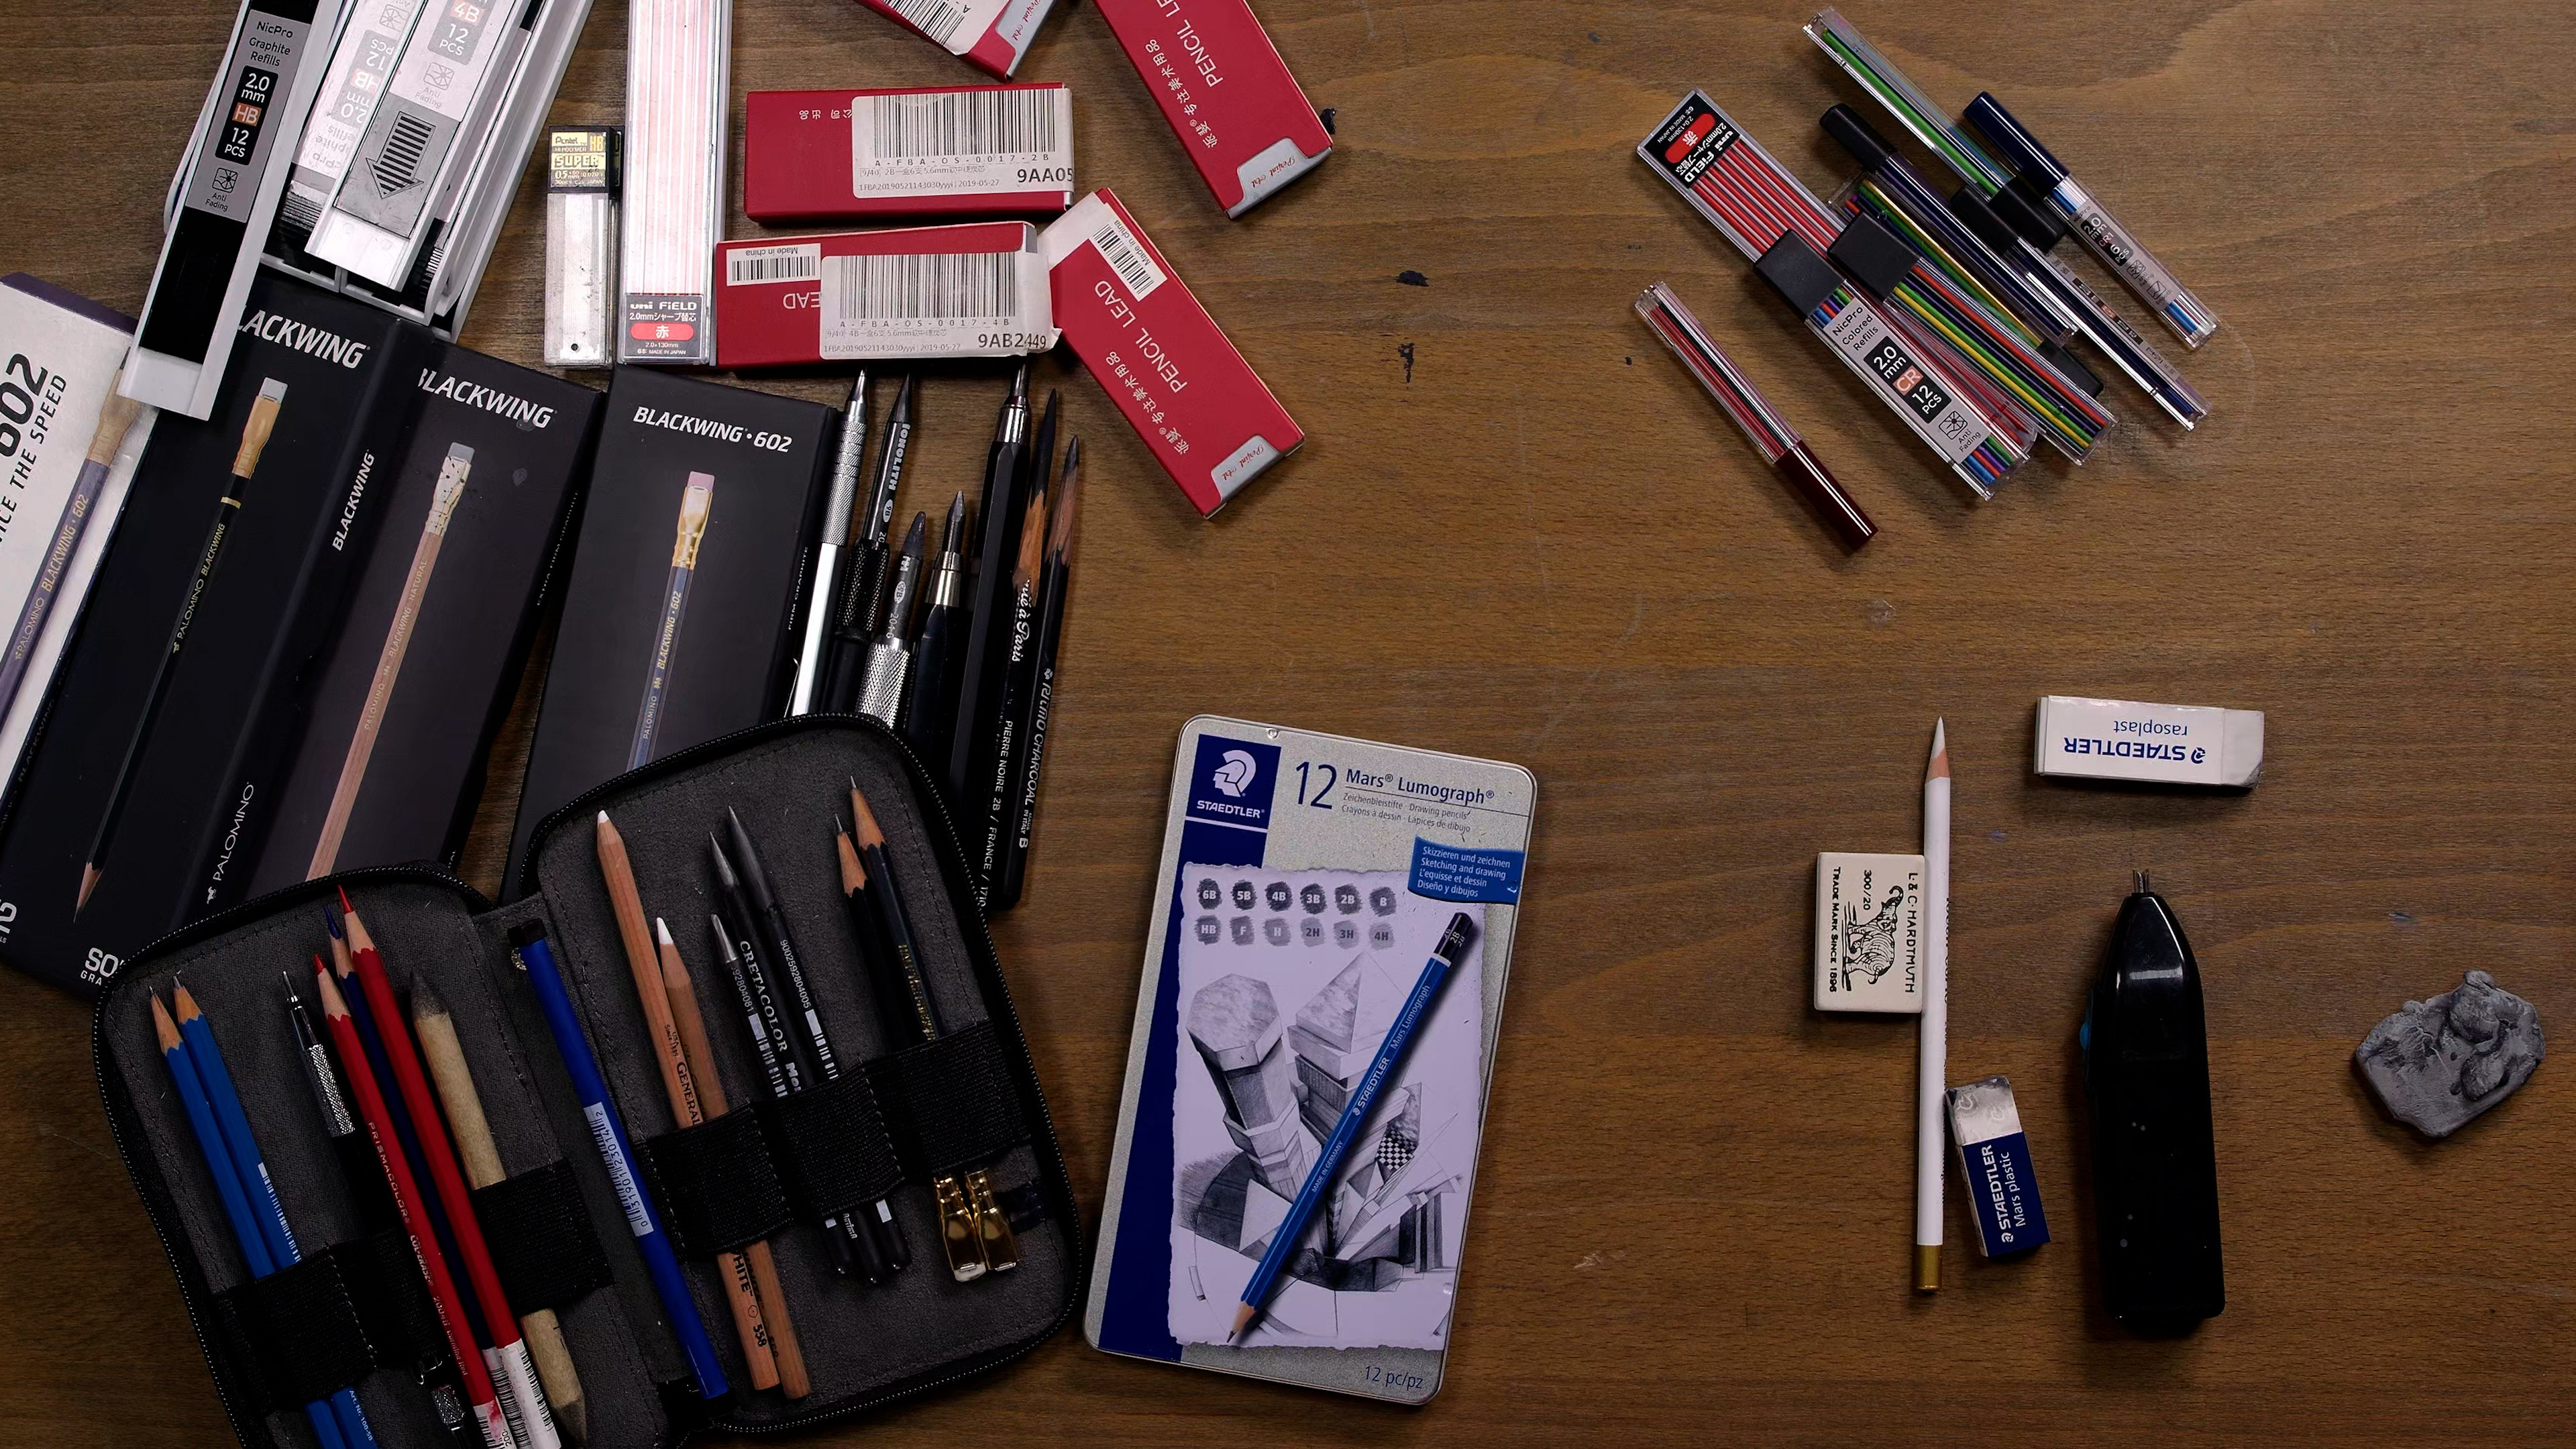
Pencils are simple right? Well… they’re a bit more complicated than you’d think. Let’s look at some of the most common types.
* Some of the items below contain affiliate links
When using a mechanical pencil, you can only draw with the very tip of the lead so mechanical pencils can only produce thin lines, limited by the thickness of the lead. Well, kind of… I’ll come back to this. Limited line weight can be good or bad. A 0.3 mm, 0.5 mm or 0.7 mm mechanical pencil can be good for thin lay-in lines or cross-hatching, but if you’re shading a large area or trying to produce a variety in your line weight from thick to thin, only using that tiny tip can get kind of exhausting, and unnecessary.
These super thin mechanical pencils are not really made for shading. Just precise line work and maybe shading the lighter more detailed halftones. Or maybe if you’re shading really small drawings. If you do like using these very thin mechanical pencils, these Pentel refills are high quality.
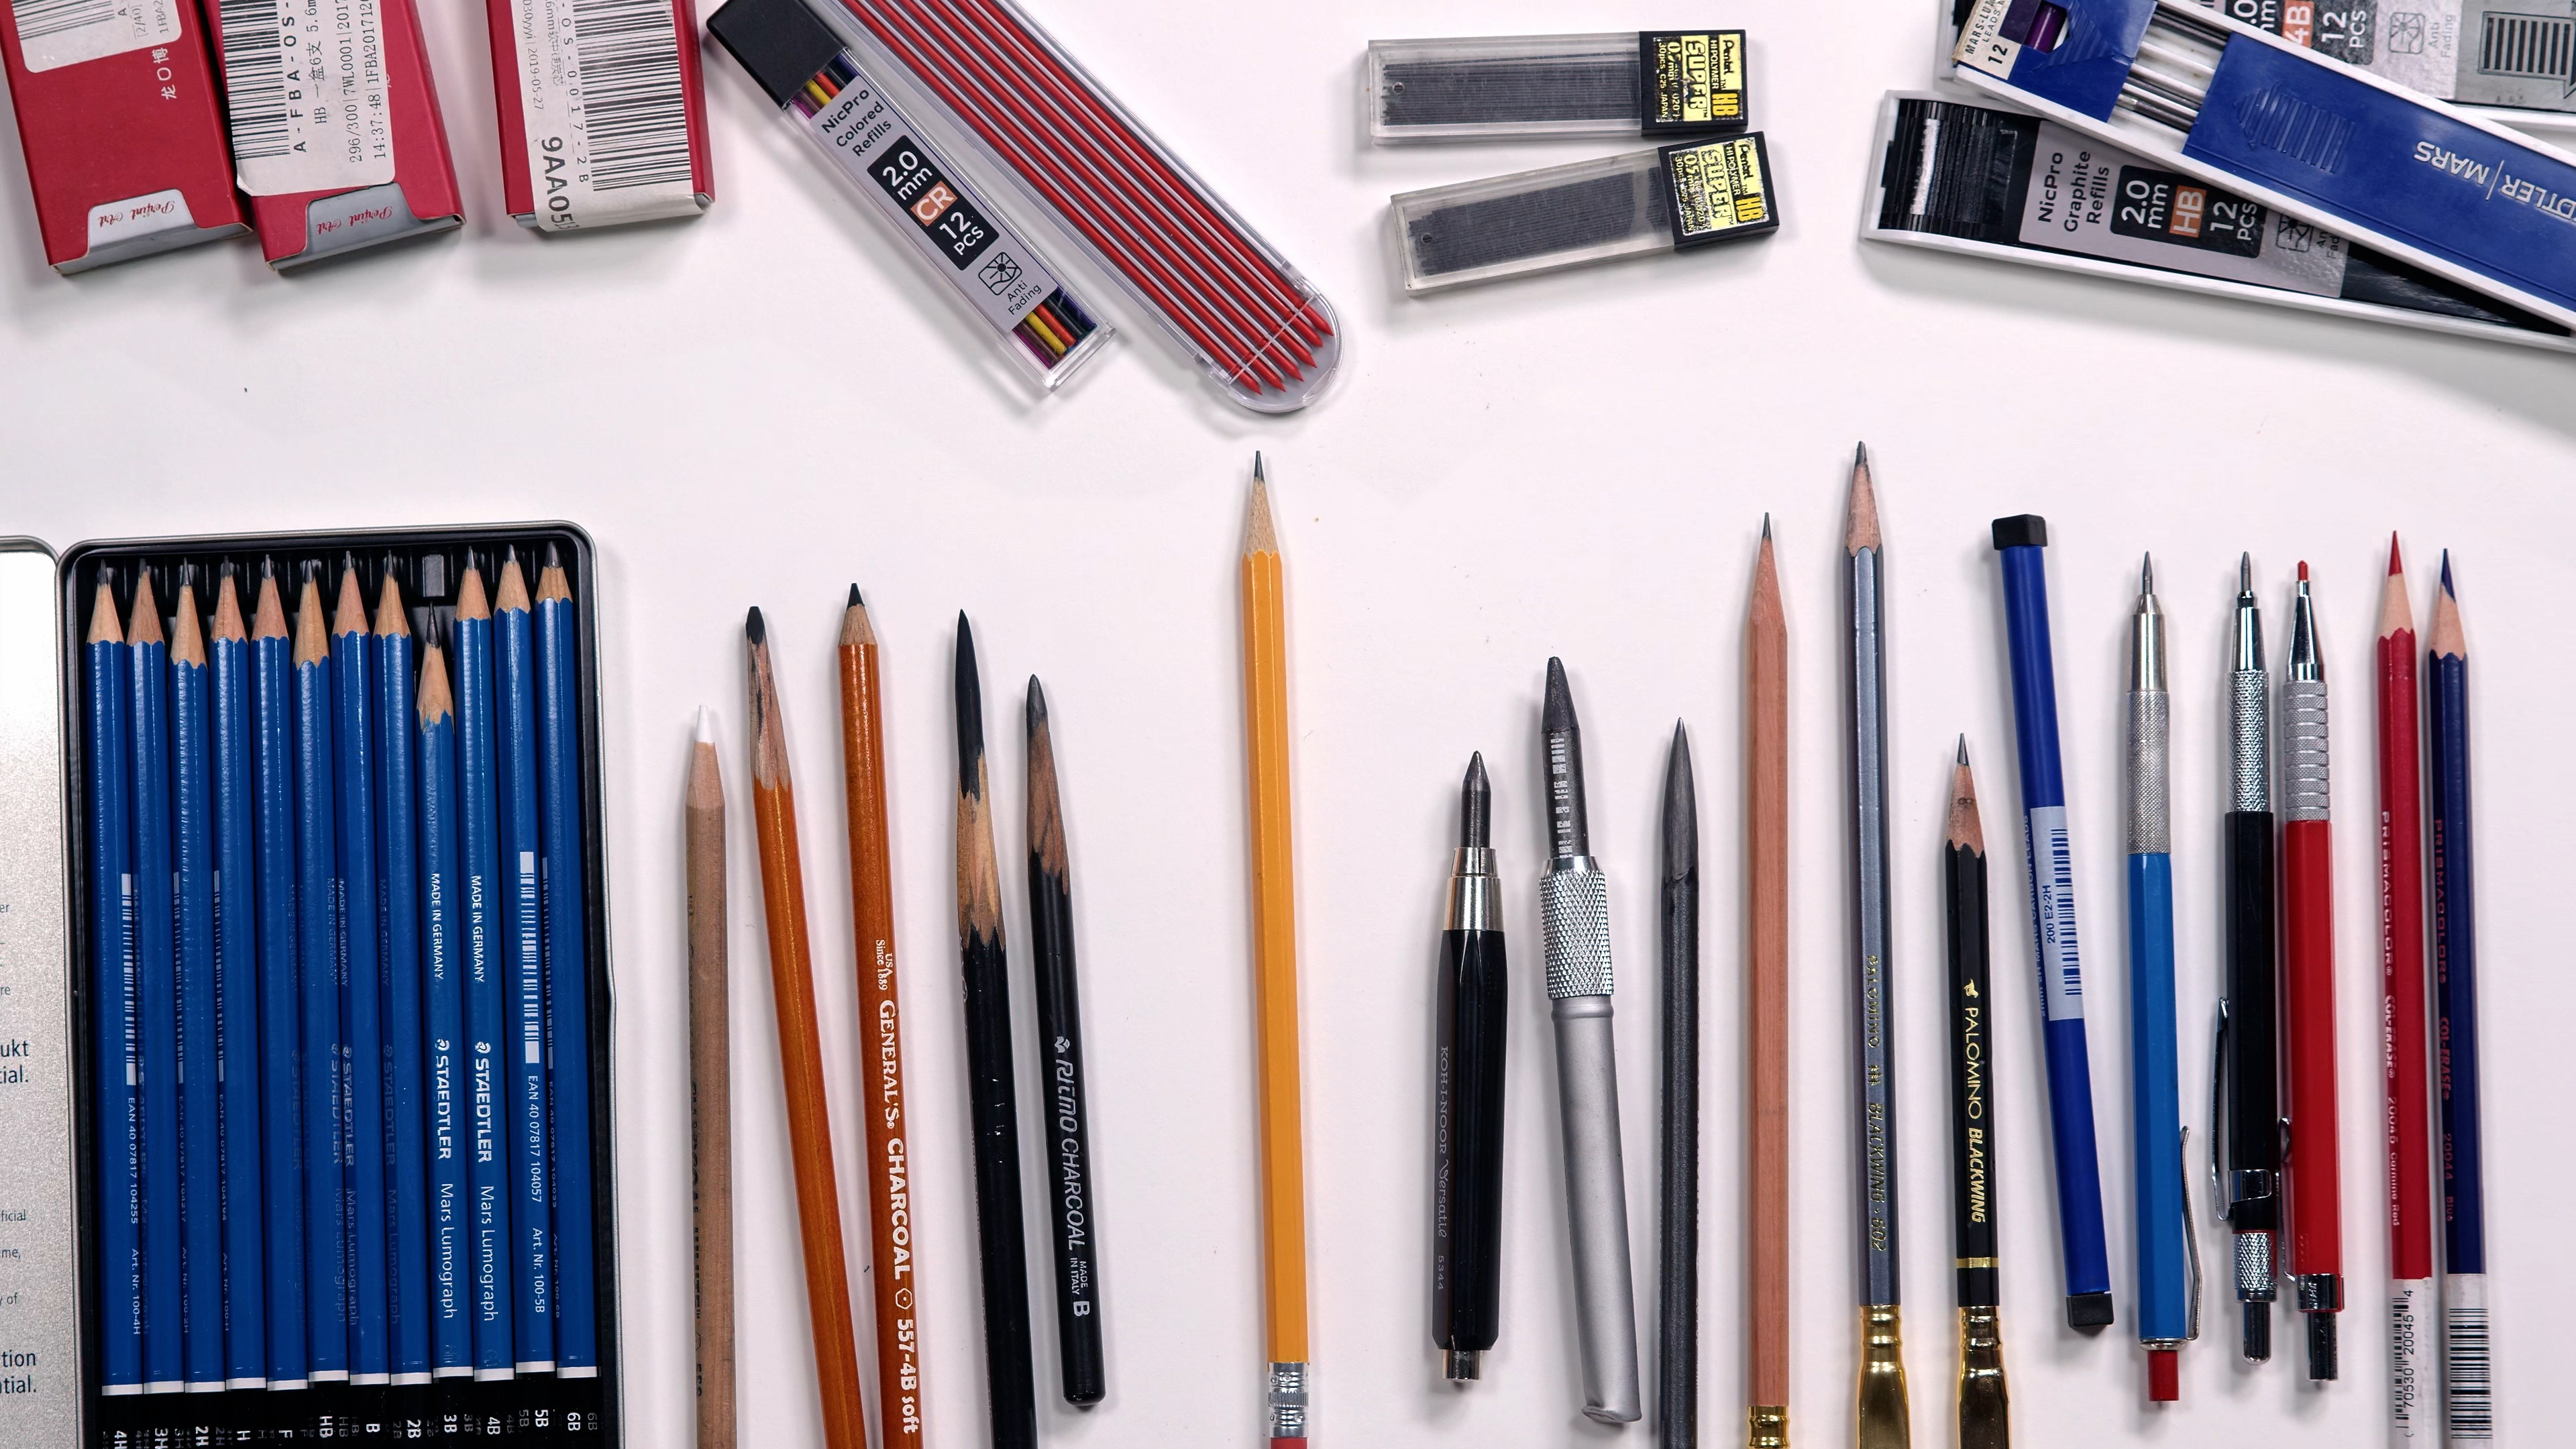
Of course we have the wooded graphite pencils, which you’re probably already familiar with. You can sharpen these in a regular pencil sharpener or you can carve away the wood with a blade to expose a longer part of the graphite, sand it down a bit and get rid of the bevel to be able to use even more of its side.
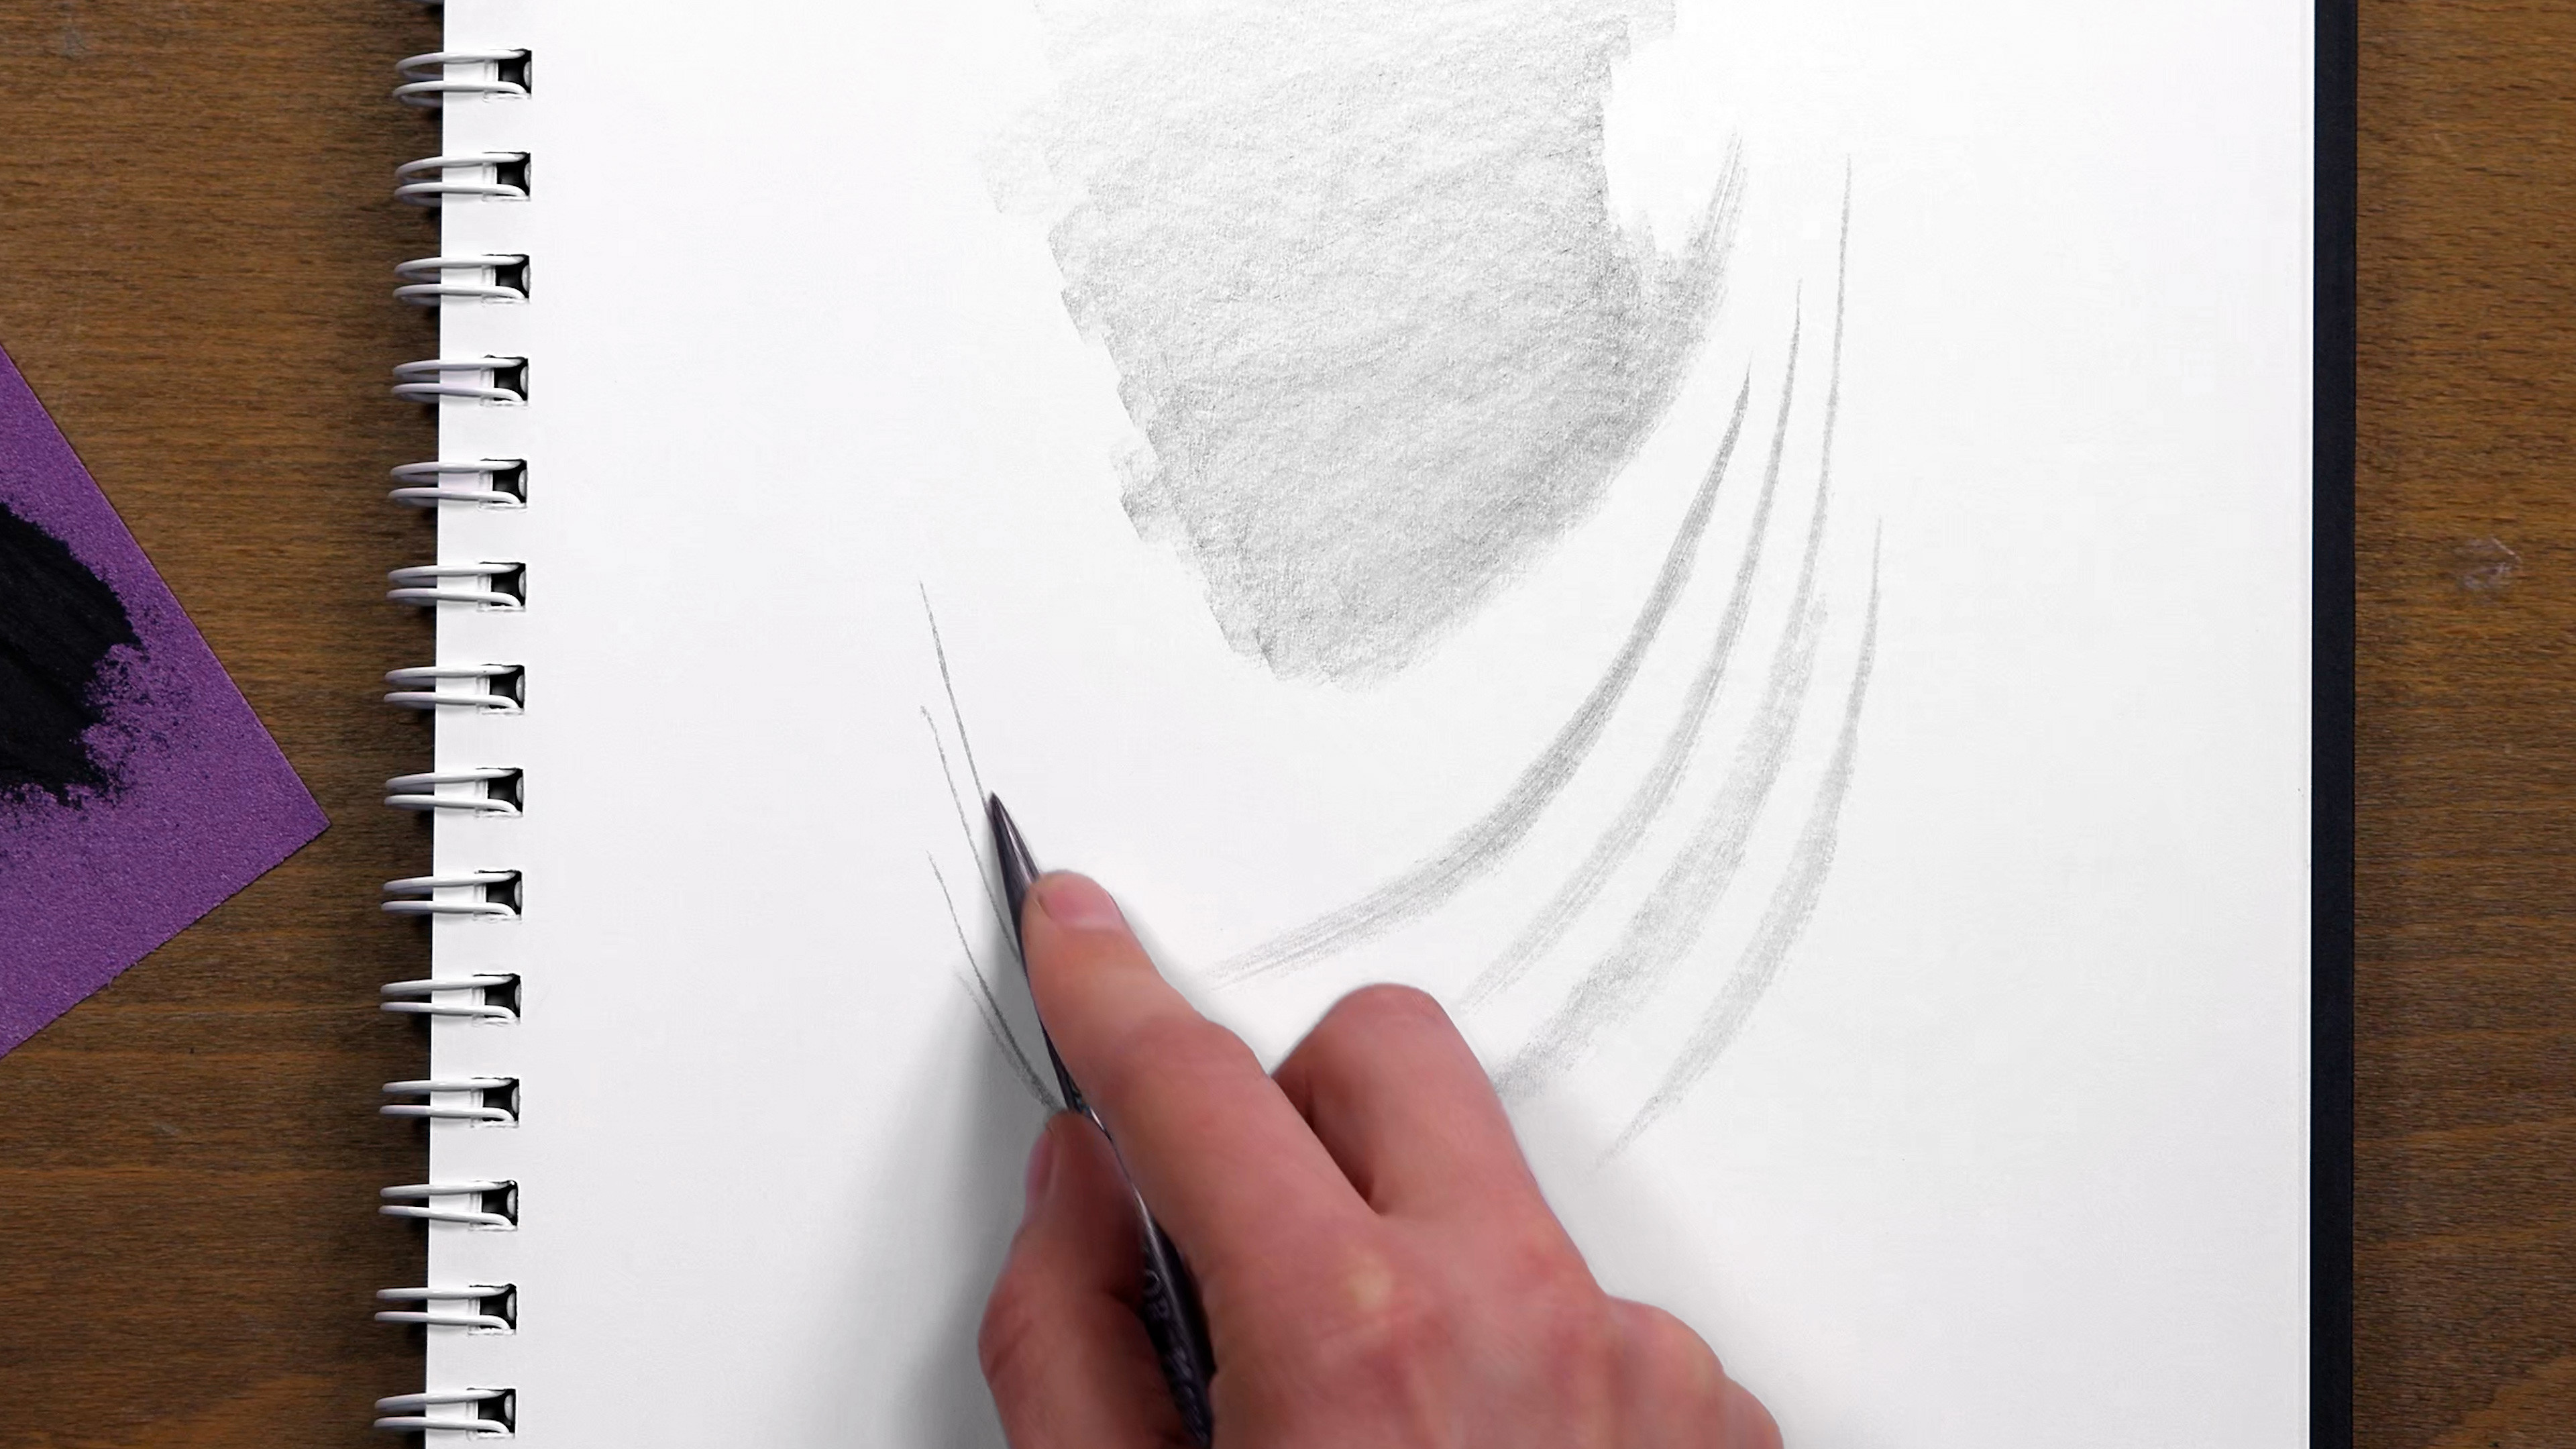
You can lay it on its side and get a nice, broad mark, which is great for filling in large areas quickly, or you can use the tip just like with the mechanical pencils. Just be mindful of the ratio of length to thickness. If you expose too much of the lead, it’s more likely to break.
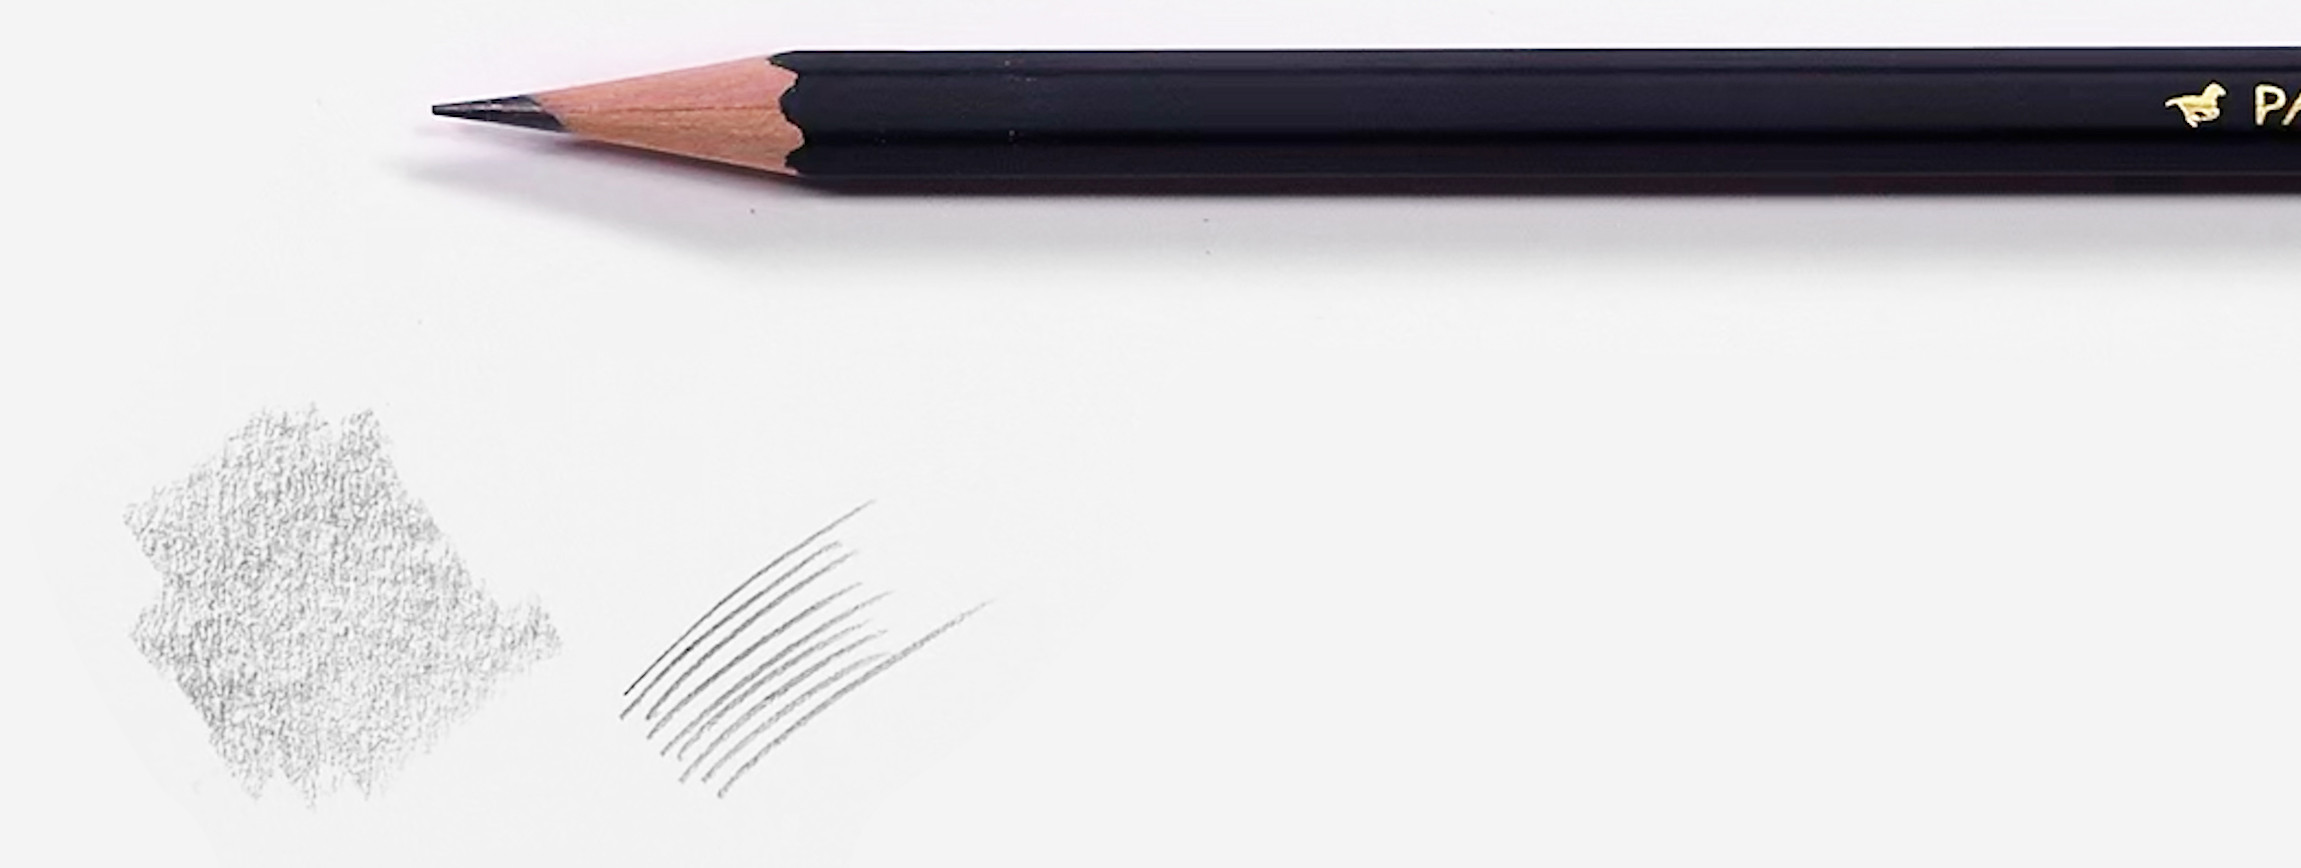
If you get a woodless graphite pencil, you can sharpen it to a really long point to get an even thicker stroke when you’re shading! You can use the pencil at different angles to pull a whole variety of calligraphic marks. This makes the graphite pencil an extremely useful tool.
Now, coming back to the part where I said mechanical pencils are limited to the point. There’s actually a pencil that’s kind of like a combination of a woodless and a mechanical pencil. These 5.6 mm refills go into this holder called a Clutch. It works just like a mechanical pencil, but you can sharpen it with sandpaper and use it like a woodless pencil. I think of these as fancy pencil extenders. Which can be nice if you don’t want to waste the pencils when they get too short to hold comfortably.
A charcoal pencil is thicker than a wooded graphite pencil, so you can carve off more wood before it breaks. When you sharpen a charcoal pencil like this way, you can get soft edges and large gradations very quickly. Charcoal pencils also don’t have the reflectivity that graphite pencils do. The “black” of a graphite pencil isn’t so black next to charcoal, especially at certain angles where it reflects the light. However charcoal is typically softer and more difficult to control for beginners. In this course, we’re going to start with graphite. It’s simple. It’s precise. It’s easily accessible. Maybe later in the course, if I’m feeling spicy I’ll introduce you guys to charcoal.
When buying your pencils, you’ll notice they come in a range. “B” stands for black. These pencils are made with more graphite which makes them softer and they leave a darker mark. On the other end of the spectrum is “H,” or “Hard,” pencils. They’re made with more clay added to them to make them harder and leave lighter marks. If you press harder, you’ll just scratch the paper. Don’t do that.
Pencils usually fit on a scale from 10H, the lightest, to 10B, the darkest. 10H is harder and lighter than 4H and 10B is softer and darker than 4B. But between the H family and B family is an HB, which makes sense…and an F. Which is also the grade I would give to the person that decided to include the random F in there. Would have been nice without it, but here we are. To protest, I actually never use the F. It doesn’t exist in my world. HB is the classic #2 pencil you remember from school.

It’s nice to have a range of pencils, but you don’t need 22 of them! You don’t even need the 12 that come in a set. I typically use just 5 of them: 2H, HB, 2B, 4B, and 6B. You can do your lay-in with a 2H or HB, start your shading with a 2B, work up to a 4B and 6B for the shadows, and do the really subtle light shading with a 2H. If you’re on the go and are only bringing one pencil with you, grab an HB or 2B for a good range in both directions.
Shakespeare said that there are only 2 types of pencils… 2B or not 2B.
Now, we’re not getting into color theory in this course, but colored pencils do exist. They’re fun and you can experiment with them if you’d like, just remember, color is hard. It’s a whole nother beast.
But, a lot of artists, myself included, like to start the preliminary sketch with a red or blue pencil. For some reason the red allows me to be more loose and noncommittal when I’m sketching and I let myself try stuff out and explore. When I’m drawing more freely, they usually end up with more energy and life, and whatever it is I’m designing looks better. Then I draw over it in black afterward if I want to clean it up.
2D animators at Disney used the Prismacolor Col-Erase. If you want a mechanical option, I really like the Staedtler 0.2 mm refills.
A lot of you guys are choosing to use just the most essential materials. That’s great! Once you start feeling like it’s holding you back and choose to invest in some more, the next most important thing I recommend is a bigger range of pencil leads!
If you really want to stay lean, just the addition of a 4B will dramatically increase your range in the shadows. You’ll know you need it when you start noticing that the HB is indenting/scratching the paper in the dark areas.
Even if you erase it out… for the most part… the mark still shows because the paper is indented. That damage can’t be undone. When you want a really dark area with your pencil, either use a “softer” lead or make a few layers at it and let the graphite build up. You won’t be able to get it as dark no matter how many layers you apply, but you can get close. It’s better to go over an area a couple of times for a dark tone than to press hard once and damage the paper. You’ll get a feel for it with experience.
If you already have a full set, try them out. How does a 6B feel vs an HB or a 4H? Do some more gradations and flat squares with each pencil.